Vertical jump is one of the most coveted athletic abilities in basketball. Whether you're grabbing rebounds, blocking shots, or finishing at the rim, the ability to elevate separates good players from great ones. The good news? Vertical jump is highly trainable. With the right combination of strength training and plyometrics, most athletes can add several inches to their vertical within months.
Understanding the Vertical Jump
The vertical jump is a measure of lower body power - the ability to generate maximum force in minimum time. It involves multiple physical qualities:
- Maximum strength: How much force your muscles can produce
- Rate of force development: How quickly you can generate that force
- Reactive strength: Your ability to use the stretch-shortening cycle
- Technique: Proper arm swing and takeoff mechanics
A comprehensive training program addresses all of these components. Focusing on only one (like just doing squats or just doing box jumps) will limit your potential gains.
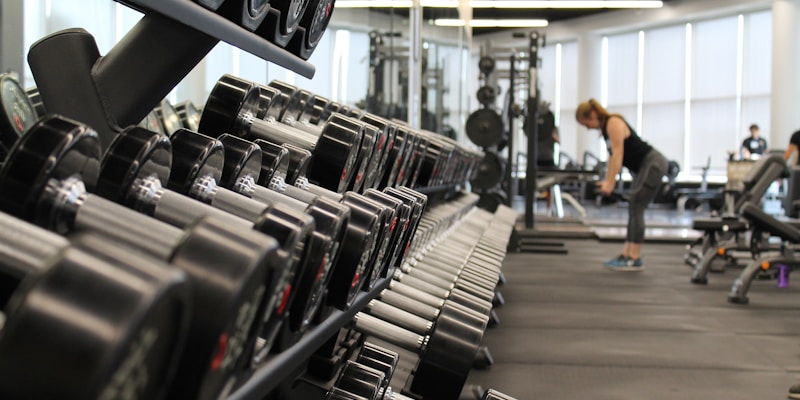
Phase 1: Building the Strength Foundation
Before focusing on explosive training, you need a strength base. You can't have power without strength - they're two sides of the same coin.
Key Strength Exercises
1. Barbell Back Squat
The king of lower body strength exercises. Focus on depth (hip crease below knee) and controlled tempo. Work toward squatting 1.5x your body weight before prioritizing plyometrics.
2. Romanian Deadlift
Develops the posterior chain (hamstrings and glutes) crucial for jumping. Keep your back straight and feel the stretch in your hamstrings.
3. Bulgarian Split Squat
Single-leg strength is essential for basketball's varied jumping situations. This exercise also addresses muscle imbalances between legs.
4. Calf Raises
Don't neglect your calves - they contribute significantly to the final push during takeoff. Perform both straight-leg and bent-knee variations.
Before focusing heavily on plyometrics, aim for these strength benchmarks: Squat 1.5x body weight, Deadlift 1.75x body weight, Single-leg squat with 50% body weight added. These ensure you have the foundation to benefit from explosive training.
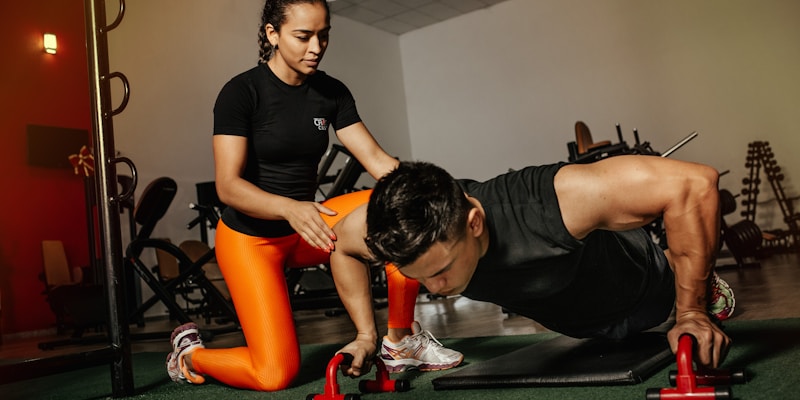
Phase 2: Plyometric Training
Plyometrics train the stretch-shortening cycle - the rapid stretch and contraction of muscles that makes jumping explosive. This is where the magic happens for vertical jump improvement.
Beginner Plyometrics
1. Box Jumps
Stand facing a box, dip into a quarter squat, swing your arms, and jump onto the box. Step down (don't jump down). Start with a height you can land softly and work up.
2. Broad Jumps
Focus on horizontal power while still training the jumping motion. Perform 3-5 sets of 3-5 jumps with full recovery between sets.
3. Jump Squats
With body weight or light weight (no more than 30% of squat max), perform explosive squats jumping as high as possible. Land softly and reset before the next rep.
Intermediate Plyometrics
1. Depth Jumps
Step off a box (start at 12-18 inches), and upon landing, immediately jump as high as possible. This trains reactive strength. Only add these once you can squat 1.5x body weight.
2. Single-Leg Bounds
Bound forward on one leg, emphasizing height and distance. Great for developing single-leg power used in game situations.
3. Tuck Jumps
Jump and bring your knees to your chest at the peak. Upon landing, immediately jump again. Perform for reps or time.
Advanced Plyometrics
1. Altitude Drops
Step off a higher box (24-36 inches) and focus on absorbing the landing. This builds reactive strength and prepares tendons for higher-intensity training.
2. Weighted Jump Squats
Add light weight (10-30% of squat max) to jump squats. This bridges the gap between strength and power.
3. Reactive Depth Jumps
Perform depth jumps with minimal ground contact time. Focus on the "bounce" off the ground rather than dipping low.
Plyometrics are high-impact exercises. Never perform them when fatigued. Keep total ground contacts (jumps) under 100 per session for beginners, and allow 48-72 hours recovery between plyometric sessions. Quality over quantity always.
Sample 8-Week Program
Weeks 1-4: Strength Emphasis
Day 1 - Lower Body Strength:
- Back Squat: 4x5 at 80%
- Romanian Deadlift: 3x8
- Bulgarian Split Squat: 3x8 each leg
- Calf Raises: 3x12
Day 2 - Plyometrics (Light):
- Box Jumps: 3x5
- Broad Jumps: 3x5
- Jump Squats (bodyweight): 3x8
Day 3 - Lower Body Strength:
- Front Squat: 4x5
- Conventional Deadlift: 3x5
- Step-ups: 3x8 each leg
- Single-leg Calf Raises: 3x10 each
Weeks 5-8: Power Emphasis
Day 1 - Strength + Plyos:
- Back Squat: 3x3 at 85%
- Depth Jumps: 3x5 (pair with squats)
- Bulgarian Split Squat: 3x6
- Single-leg Bounds: 3x5 each leg
Day 2 - Plyometrics Focus:
- Box Jumps: 4x5 (max height)
- Tuck Jumps: 3x8
- Reactive Depth Jumps: 3x5
- Broad Jump to Vertical Jump: 3x5
Day 3 - Strength + Plyos:
- Trap Bar Deadlift: 3x3
- Jump Squats (light weight): 3x5
- Single-leg Squat: 3x6 each
- Altitude Drops: 3x5
"Vertical jump is a skill that can be trained. With the right program and consistency, almost anyone can add 4-8 inches to their vertical within a year of dedicated training." - Dr. Michael Young, Sports Performance Expert
Technique Optimization
Even with great strength and power, poor technique limits your vertical jump. Focus on these key elements:
Arm Swing
A powerful arm swing can add 10-15% to your vertical jump. Drive your arms back during the dip, then explosively swing them forward and up as you jump. Your arms should reach full extension just as you leave the ground.
Countermovement
The dip before jumping (countermovement) loads your muscles and tendons like a spring. Dip to about quarter-squat depth - deeper isn't better for jumping. The movement should be quick and explosive.
Takeoff Angle
For maximum height, your takeoff should be nearly vertical. Any forward lean directs force horizontally rather than vertically. Practice against a wall to ensure you're going straight up.
Recovery and Injury Prevention
Jump training is demanding on your body. Prioritize these recovery elements:
- Sleep: 7-9 hours per night for optimal adaptation
- Nutrition: Adequate protein (1.6-2.2g/kg body weight) and calories
- Soft tissue work: Foam rolling and stretching for hip flexors, quads, and calves
- Deload weeks: Every 4-6 weeks, reduce volume by 50%
- Listen to your body: Pain (not muscle soreness) is a warning sign
Common Injuries to Avoid
- Patellar tendinopathy (jumper's knee): Gradual onset knee pain below the kneecap
- Achilles tendinopathy: Pain in the Achilles tendon from overuse
- Shin splints: Often from progressing too quickly or poor landing mechanics
Testing Your Progress
Measure your vertical jump every 4 weeks to track progress:
- Stand flat-footed next to a wall and reach as high as possible (standing reach)
- Jump and touch the highest point you can (jump reach)
- Vertical jump = Jump reach - Standing reach
For more accuracy, use a Vertec testing device or force plate if available. Test at the same time of day, after the same warm-up, for consistent results.
Conclusion
Improving your vertical jump is a journey that requires patience, consistency, and smart training. Build a strength foundation first, then layer on plyometric training progressively. Pay attention to technique, prioritize recovery, and track your progress regularly. Most athletes can expect to add 4-8 inches to their vertical over the course of a year with dedicated training.
The ability to elevate above the competition opens up new possibilities on the basketball court. Start with the fundamentals, progress gradually, and watch your game rise to new heights.


